
Introduction to Whole Orange Blender Cake
Why a Whole Orange Blender Cake is a Game Changer
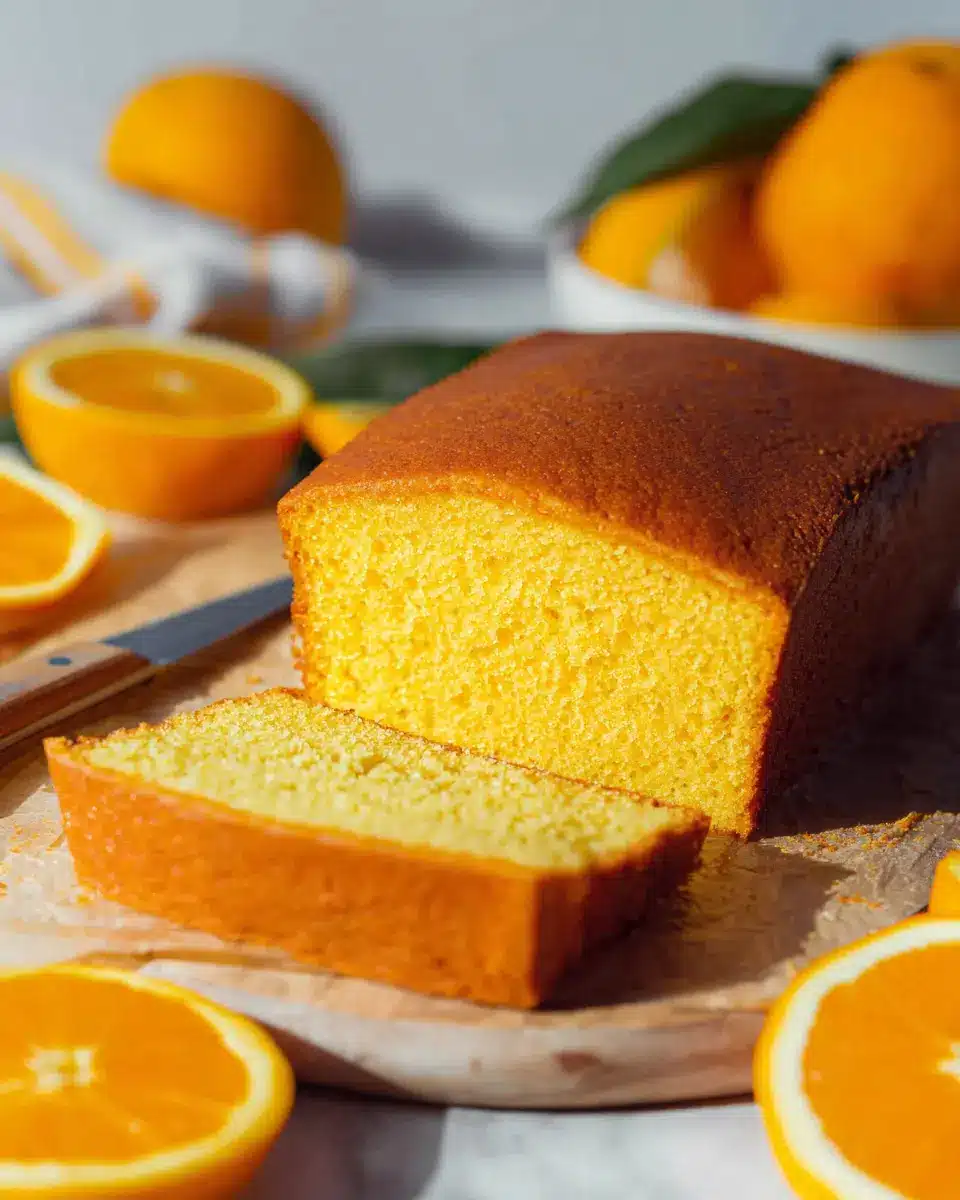
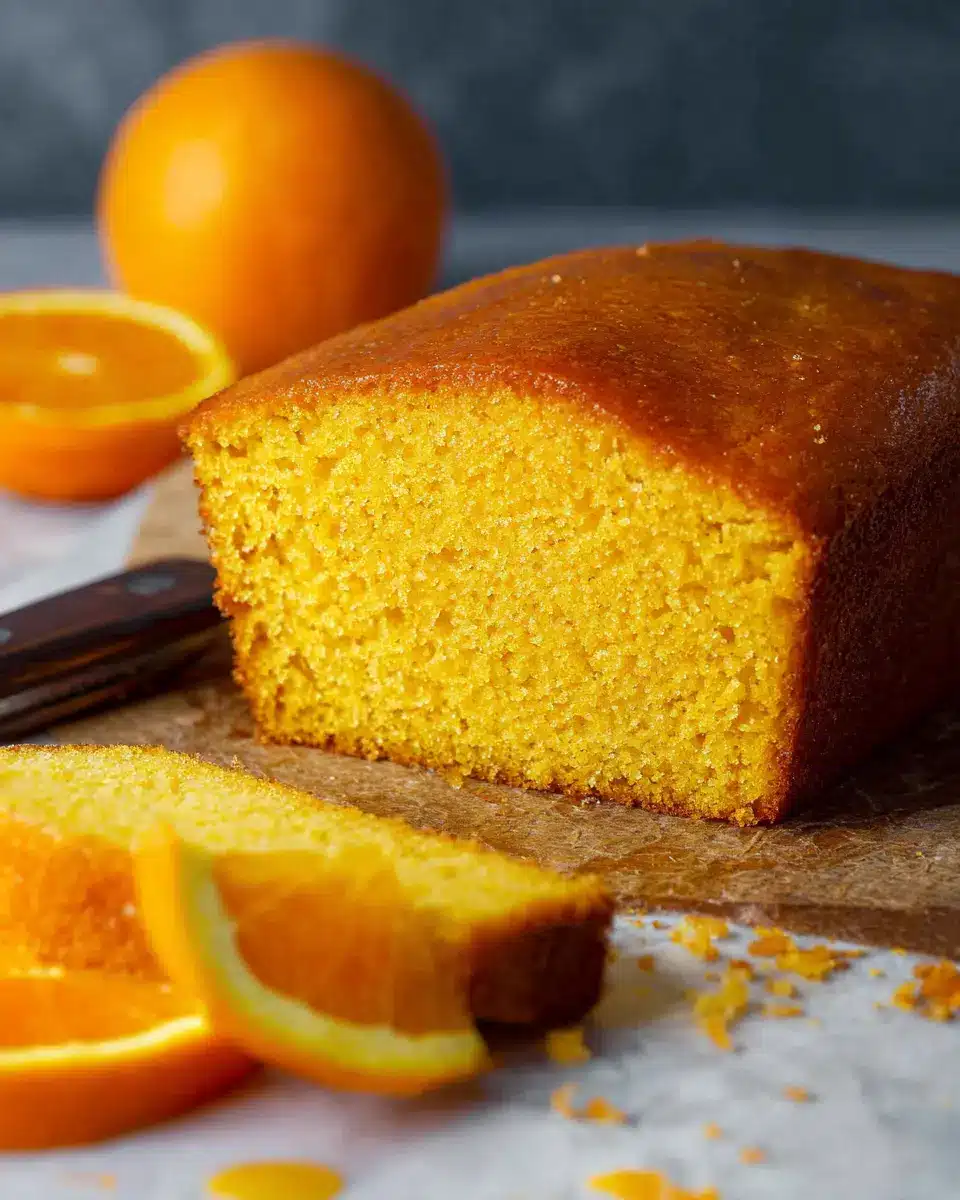
If you’re searching for an effortless dessert that bursts with vibrant flavor, look no further than the whole orange blender cake. This delightful treat is not only easy to whip up but also packs a punch of citrusy goodness that will tantalize your taste buds.
The magic lies in the method: you just toss all your ingredients into a blender and let it work its wonders. Imagine a cake that requires minimal fuss but delivers maximum flavor. This is particularly great for young professionals who might be short on time but still want to impress friends or family with a homemade dessert.
One secret ingredient sets this cake apart—it’s the use of an entire orange! Including the zest and the skin adds a complexity of flavor, making each bite refreshingly zesty. Did you know that oranges are a good source of vitamin C and antioxidants? Not only is this cake delicious, but it's also a bit of a health booster!
For those looking for inspiring recipes, feel free to check out sources like Serious Eats or Bon Appétit for more easy baking ideas. The whole orange blender cake exemplifies simple sophistication, proving that you don’t have to spend hours in the kitchen to enjoy a remarkable dessert.
Ingredients for Whole Orange Blender Cake
Creating the perfect whole orange blender cake is a delightful experience that starts with gathering the right ingredients. This straightforward recipe ensures that you enjoy a moist and flavorful cake with the unique taste of orange. Let’s break down what you need!
Wet Ingredients
To achieve that vibrant base, you'll need:
- 1 seedless sweet orange (with skin, or remove seeds if any)
- 3 large eggs (make sure they’re at room temperature)
- ⅓ cup vegetable oil (80 ml for that lovely moisture)
- ½ cup granulated sugar (100 gr; feel free to add an extra ¼ cup for a sweeter cake)
Dry Ingredients
The structure of your whole orange blender cake comes from:
- 2 cups self-raising flour (250 gr)
- If making your own, combine:
- 2 cups all-purpose flour (250 g)
- 3 teaspoons baking powder
- ½ teaspoon salt
Optional Sweetener
If you prefer a touch more sweetness:
- Consider adding up to ¼ cup (50 gr) of additional sugar. This step is perfect for anyone who leans towards a sweeter dessert, elevating the cake’s flavor profile.
Now that you have your ingredients sorted, you’re one step closer to indulging in this zesty treat! Happy baking!
Preparing Whole Orange Blender Cake
Making a whole orange blender cake is not only an easy way to satisfy your sweet tooth, but it's also an adventure in flavor that you simply can’t miss. This method is perfect for anyone, especially busy professionals looking to whip up a delicious dessert with minimal effort and maximum taste. Let’s dive into how to prepare this delightful cake step by step.
Gather Your Ingredients
Before you begin, take a moment to gather all your necessary ingredients. Knowing what you need ahead of time makes the process smoother and less stressful. Here's what you'll require:
- 1 seedless sweet orange with skin (or if you have a seeded variety, just remove the seeds)
- 3 large eggs (make sure they’re at room temperature for that perfect batter)
- ⅓ cup vegetable oil (80 ml)
- ½ cup granulated sugar (100 g; add ¼ cup more if you prefer your cake sweeter)
- 2 cups self-raising flour (250 g) — or make your own with all-purpose flour, baking powder, and salt
Blend the Wet Ingredients
Start your whole orange blender cake adventure by blending your wet ingredients. Into your blender jar, add the whole orange (skin and all), eggs, oil, and sugar. Blend until you achieve a smooth mixture. This shouldn’t take long—just a minute or two. The citrus aroma will waft through your kitchen, building anticipation for what’s to come!
Combine the Dry Ingredients
In a separate bowl, mix together your dry ingredients—the self-raising flour, baking powder, and salt if you're making homemade self-rising flour. Whisk them together until they are well combined. This is a crucial step, as it helps ensure even distribution of the leavening agent throughout your batter, leading to a beautifully fluffy cake.
Mix the Batter
Now, it's time to combine the wet and dry ingredients. Slowly pour the blended mixture into the bowl with the flour. Using a spatula or a hand whisk, gently mix everything until just combined. Avoid over-mixing, as this can lead to a dense cake—nobody wants that. Remember, it’s okay if a few lumps remain. This relaxed approach to mixing is part of the magic of the whole orange blender cake.
Pour and Bake
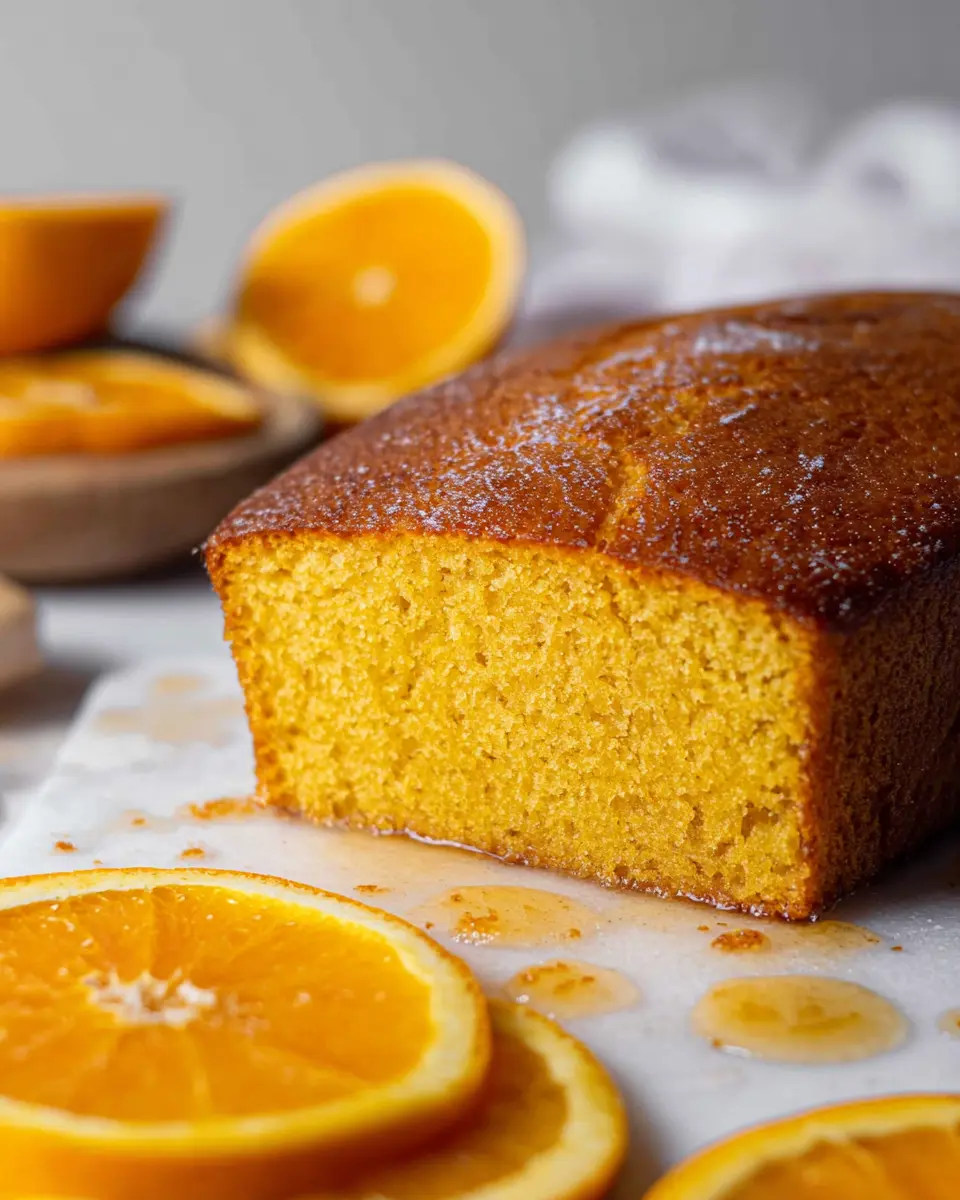
After mixing, lightly grease and flour a 5x9 inch (13x23 cm) loaf pan. Pour the batter into the pan, spreading it out evenly. Pop it in a preheated oven at 340°F (170°C), positioned on the ⅔ lower rack, for about 40 minutes. You’ll know it's done when a skewer inserted into the center comes out almost clean. Allow it to cool completely before slicing it up.
As you enjoy this delightful cake, remember that it’s perfect for sharing—or keeping all to yourself! Grab a cup of tea, invite a friend over, and indulge in the sweet, citrusy goodness of your homemade whole orange blender cake. Enjoy!
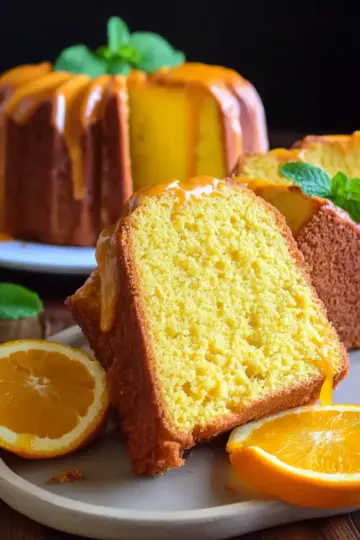
Variations on Whole Orange Blender Cake
If you love the delightful flavors of the whole orange blender cake, why not experiment with some tasty variations? Here are two that are sure to please any crowd.
Whole Orange Chocolate Cake
For chocolate lovers, try incorporating cocoa powder into your whole orange blender cake batter. Simply add ½ cup of unsweetened cocoa powder alongside the self-raising flour. The chocolate complements the orange beautifully, creating a rich and indulgent dessert. You can also fold in chocolate chips for an extra treat!
Whole Orange Almond Cake
For a nutty twist, replace half of the self-raising flour with almond flour. This variation adds a subtle nuttiness while keeping the cake moist and delectable. A sprinkle of slivered almonds on top before baking can enhance both texture and presentation.
Feel free to mix and match these ideas for a truly unique orange cake experience! For more variations and tips, check out sites like King Arthur Baking or America's Test Kitchen.
Cooking Tips and Notes for Whole Orange Blender Cake
Achieving the Perfect Texture
To ensure your whole orange blender cake has that soft, moist texture we all love, remember not to overmix the batter! Just a gentle fold of the dry ingredients is enough to keep the cake light. Also, try using fresh, ripe oranges for maximum flavor—organic oranges can really elevate your cake's taste!
Storing Leftovers
If you have any leftovers (which is rare, but it happens!), store your cake in an airtight container at room temperature for up to three days. You can also wrap it tightly with plastic wrap and refrigerate it for up to a week. For longer storage, consider freezing it. Just slice, wrap each piece individually, and store in a freezer-safe bag. When you’re ready to enjoy, simply let it thaw at room temperature.
For more baking tips, check out resources like the Joy of Baking.
Serving Suggestions for Whole Orange Blender Cake
Pairing with Fresh Cream
A slice of whole orange blender cake becomes even more delightful when served with a dollop of fresh cream. The rich, velvety texture of whipped cream complements the cake's bright orange flavor, making each bite a perfect blend of sweetness and citrus. To elevate your presentation, consider garnishing with orange zest or a sprig of mint for a pop of color and aroma.
Serving with Ice Cream or Sorbet
For a truly refreshing dessert experience, serve the whole orange blender cake with a scoop of vanilla ice cream or a tangy citrus sorbet. The cold creaminess contrasts beautifully with the warm, moist cake, creating a harmonious balance of temperatures. If you're feeling adventurous, try pairing it with a scoop of goat cheese ice cream for a sophisticated twist. This unexpected combination will surely impress your guests!
Time Breakdown for Whole Orange Blender Cake
Preparation Time
With just 10 minutes of prep time, you can gather your ingredients and blend them into a smooth mixture. It’s a quick and easy process, making this recipe perfect for a busy weekday treat or a spontaneous dessert.
Baking Time
Once you've blended everything together, it’s time to pop the batter into the oven. Bake for 40 minutes at 340ºF (170ºC). While it bakes, the delightful aroma of orange will fill your kitchen, making the wait worthwhile!
Total Time
In total, you’ll spend about 50 minutes on this delicious whole orange blender cake, including both preparation and baking. Ideal for when you need a quick and impressive dessert that looks and tastes amazing, don’t you think?
If you're interested in baking tips, check out The Kitchn for more insights!
Nutritional Facts for Whole Orange Blender Cake
Calories per Serving
Each slice of this delicious whole orange blender cake packs approximately 160 calories, making it a delightful yet guilt-free indulgence for any occasion. Perfect for morning coffee or an afternoon treat!
Macronutrient Breakdown
- Carbohydrates: 22g
- Proteins: 3g
- Fats: 6g
With a well-balanced blend of macronutrients, this cake is suitable for sharing with friends or enjoying solo. Plus, using fresh oranges ensures you're getting some vitamin C in your day. For more insight into the health benefits of oranges, check out this detailed article on Healthline.
FAQs about Whole Orange Blender Cake
Can I use other citrus fruits?
Absolutely! While whole orange blender cake highlights the vibrant flavor of oranges, feel free to experiment with other citrus fruits such as lemons or limes. Just keep in mind that each fruit may alter the sweetness and acidity, so adjust sugar levels accordingly. For a unique twist, consider mixing different citrus fruits for a refreshing flavor profile.
How do I make this cake gluten-free?
To make your whole orange blender cake gluten-free, simply replace the self-rising flour with a gluten-free flour blend. Look for blends that include xanthan gum for better texture. You can either buy pre-made gluten-free flour or create your own using a combination of almond flour and coconut flour. Be sure to check the package instructions for the best results.
What’s the best way to store the cake?
To keep your whole orange blender cake fresh and delicious, store it in an airtight container at room temperature for up to three days. If you want to extend its shelf life, wrap it tightly in plastic wrap and place it in the fridge, where it can stay fresh for up to a week. For longer storage, consider freezing slices—just make sure to use freezer-safe containers!
Conclusion on Whole Orange Blender Cake
Why You Should Try This Recipe
The whole orange blender cake is not just easy; it's a burst of citrus bliss. With minimal effort, you get a delightful, moist treat that impresses anyone. Plus, it’s a fun way to incorporate more fruits into your diet. Give it a whirl and transform your dessert into something spectacular!
For more tasty ideas, check out BBC Good Food and AllRecipes. Happy baking!

Whole Orange Blender Cake
Equipment
- blender
- loaf pan
- Oven
Ingredients
Wet Ingredients
- 1 seedless sweet orange with skin or remove seeds if any
- 3 large eggs room temperature
- ⅓ cup vegetable oil 80 ml
- ½ cup granulated sugar 100 gr, add ¼ cup (50 gr) more if you like it sweeter
Dry Ingredients
- 2 cups self raising flour (250 gr)
- 2 cups all purpose flour (250 g)
- 3 teaspoons baking powder
- ½ teaspoon salt
Instructions
Wet Ingredients
- Add all ingredients into a blender jar and blend into a smooth mixture and pour it into a bowl.
Dry Ingredients
- Add flour into the mixture and mix everything together. You can use a spatula or a hand whisk. Do not over mix to avoid dense cake.
- If you're making your own self rising flour, mix all purpose flour, baking powder and salt in a bowl and use that flour mixture instead.
Bake
- Pour the batter into a 5x9 inch (13x23 cm) loaf pan, previously greased and floured. Bake in a preheated oven on the ⅔ lower rack, using upper and lower heat, at 340ºF (170ºC) for 40 minutes or until a skewer inserted in the center comes out almost clean.
- Remove from the oven and cool completely before slicing. Enjoy!

Leave a Reply