
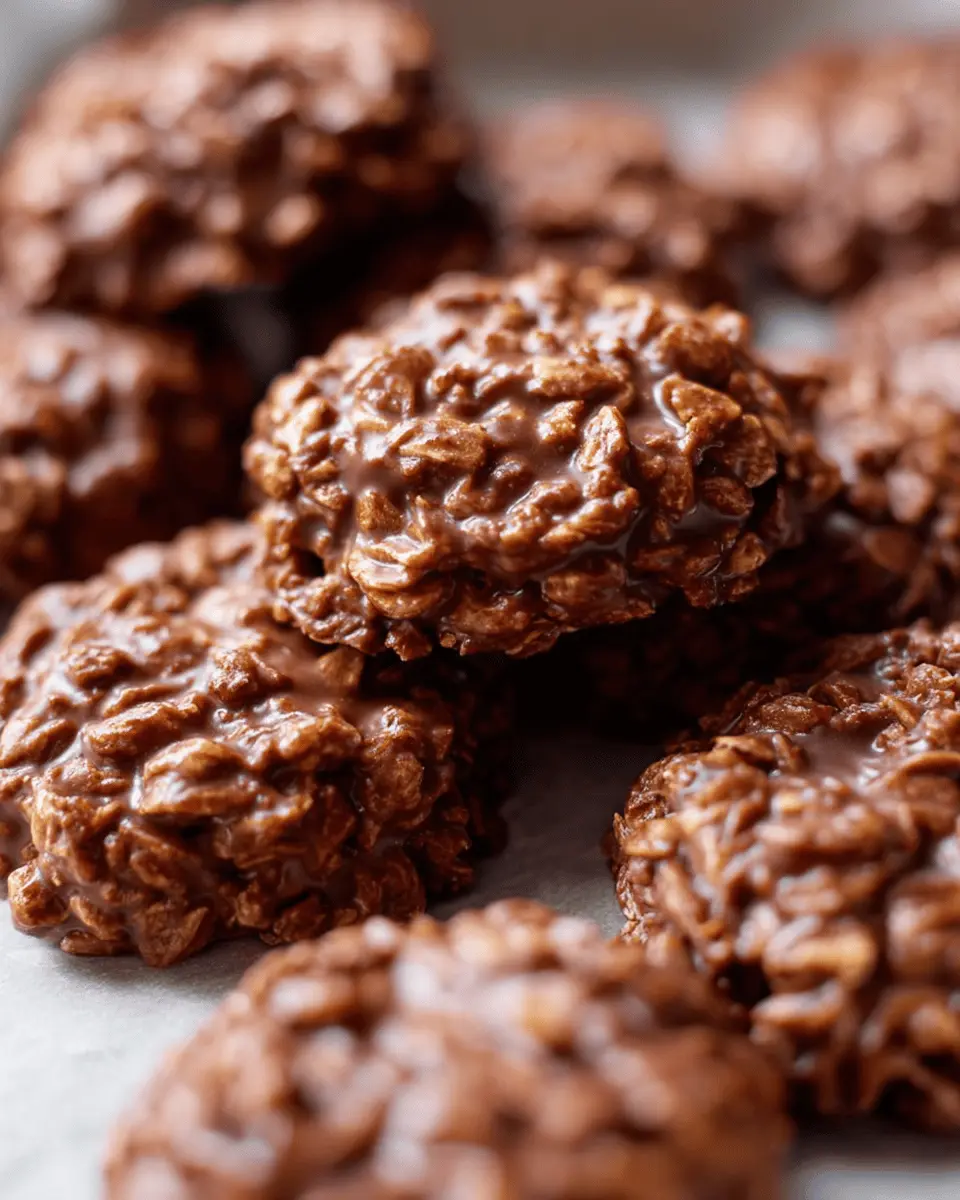
Introduction to Classic No-Bake Cookies
No-bake cookies have earned a special place in the hearts of dessert lovers everywhere, and it’s no surprise why! These classic no-bake cookies are not only easy to whip up, but they also deliver rich flavors and delightful textures without the need for an oven. Perfect for busy weekdays or spontaneous gatherings, they fit seamlessly into a young professional's lifestyle.
Why are Classic No-Bake Cookies so popular?
One of the most appealing aspects of these treats is the simplicity of their ingredients. With just a handful of pantry staples—like oats, peanut butter, and cocoa powder—you can create a satisfying dessert in under an hour. According to a survey by the American Institute of Baking, more than 40% of bakers prefer recipes requiring minimal prep time, highlighting the growing demand for easy desserts that require little effort.
Additionally, classic no-bake cookies are incredibly versatile. You can customize them by adding your favorite mix-ins like chopped nuts, chocolate chips, or even a sprinkle of sea salt for a gourmet touch. They are also a great way to introduce baking to younger audiences, fostering a love for homemade desserts without the intimidation factor that comes with traditional baking.
If you’re ready to dive into making these delicious cookies, keep reading for the full recipe and tips!
Ingredients for Classic No-Bake Cookies
Essential ingredients for a delightful treat
To whip up a batch of classic no-bake cookies, you'll only need a handful of common ingredients. Here’s what you’ll gather:
- Butter: ½ cup will give your cookies that rich, creamy texture.
- Granulated sugar: 2 cups to add sweetness, making each bite irresistible.
- Milk: ½ cup provides the perfect moisture—feel free to swap in almond or oat milk for a dairy-free alternative.
- Unsweetened cocoa powder: ¼ cup for that rich chocolaty flavor.
- Creamy peanut butter: ½ cup helps bind everything while adding protein and deliciousness.
- Vanilla extract: Just 1 teaspoon adds a hint of warmth and depth.
- Quick-cooking oats: 3 cups provide the hearty base for these treats, ensuring they stay chewy.
Optional add-ins for variety
Want to elevate your no-bake cookies? Consider adding a few fun twists! You could mix in:
- Chopped nuts: Such as walnuts or almonds for extra crunch.
- Chocolate chips: A handful can take your cookies to another level of indulgence.
- Dried fruits: Raisins or cranberries can add a chewiness and slight tartness.
- Coconut flakes: For a tropical flair!
Experimenting with these optional add-ins can make your classic no-bake cookies uniquely yours! If you’d like more inspiration, check out this guide on cookie variations for more creative ideas.
Preparing Classic No-Bake Cookies
Making classic no-bake cookies is a delightful experience that combines simplicity with satisfaction. With just a few steps, you can whip up a batch of these delicious treats that are sure to impress. Let's get started!
Step 1: Gather and Measure All Ingredients
Before diving into the cooking process, it’s essential to have everything organized. Gather the following ingredients:
- ½ cup butter (115 grams), sliced
- 2 cups granulated sugar (400 grams)
- ½ cup milk (120 ml)
- ¼ cup unsweetened cocoa powder (20 grams)
- ½ cup creamy peanut butter (125 grams)
- 1 teaspoon pure vanilla extract
- 3 cups quick-cooking oats (300 grams)
Make sure to have these ingredients measured out; this will streamline your process! Also, don’t forget to line two large baking sheets with parchment paper — this will prevent the cookies from sticking while cooling.
Step 2: Combine Butter, Sugar, Milk, and Cocoa Powder
In a large saucepan, start by combining butter, sugar, milk, and cocoa powder. Turn the heat to medium and stir frequently until the butter has melted. This step is crucial as the melting butter helps create a smooth base for your classic no-bake cookies. You might find this guide on how to melt butter properly helpful!
Step 3: Bring Mixture to a Rolling Boil
Once everything is combined, it’s time to bring the mixture to a rolling boil. Allow it to boil for exactly 60 seconds. A reliable timer is essential here! This one-minute boil is what helps achieve that perfect cookie texture.
Step 4: Incorporate Peanut Butter and Vanilla Extract
Remove the saucepan from heat and stir in your creamy peanut butter and pure vanilla extract. The warmth of the mixture will help the peanut butter melt and blend seamlessly with the cocoa and sugar. This is where your classic no-bake cookies start to take form — the aroma will be heavenly!
Step 5: Mix in the Oats
Now that your mixture is blended, it’s time to add the oats. Stir them in until they’re fully coated with the chocolatey goodness. This step is where you can really get into it and ensure every bit of oat is enveloped in the rich mixture — it’s just a treat waiting to happen!
Step 6: Drop Spoonfuls onto Baking Sheets
Using a spoon or a cookie scoop (around 1.5 tablespoons works wonders), drop the mixture onto your prepared baking sheets. Leave space between each cookie for easy access. Let them cool for about 20-30 minutes, and then get ready for the delightful crunch of your homemade classic no-bake cookies!
Remember, these cookies are not only quick to make; they often spark joy and nostalgia. So, share them with friends, or simply enjoy them yourself — you deserve it!
Variations on Classic No-Bake Cookies
No-bake cookies are versatile and fun! Let’s explore a couple of delightful variations that you can easily whip up for your next gathering.
Peanut Butter Chocolate No-Bake Cookies
For a peanut butter lover’s dream, simply double down on the creamy peanut butter. Add a handful of chocolate chips right before spooning out the mixture. This variation transforms your classic no-bake cookies into gooey, chocolatey bites that will satisfy any sweet tooth.
Coconut No-Bake Cookies
Craving a tropical twist? Swap half the oats with shredded coconut, adding a hint of vanilla extract to enhance the flavors. The chewy texture of coconut works beautifully with the chocolate base, creating a delightful contrast. You can even drizzle some white chocolate on top for a fancy finish!
Ready to experiment? Feel free to customize these classic no-bake cookies and enjoy the creative process!
Cooking Tips and Notes for Classic No-Bake Cookies
Must-know tips for perfect no-bake cookies
Achieving the perfect classic no-bake cookies starts with precise timing. Boil your mixture for exactly 60 seconds—this ensures the ingredients set properly. Remember to use quick-cooking oats for the best texture; they absorb moisture better than old-fashioned oats. A cookie scoop can help you create uniform sizes, which is great for even cooling and presentation.
Common pitfalls to avoid
Watch out for overcooking the mixture! If it's boiled too long, your cookies may become too hard. Conversely, if it’s not boiled long enough, they might not firm up. It’s helpful to work in a cool kitchen; warmer temperatures can impact how they set. If you want to dive deeper into common baking challenges, check out this resource. Happy baking!
Serving Suggestions for Classic No-Bake Cookies
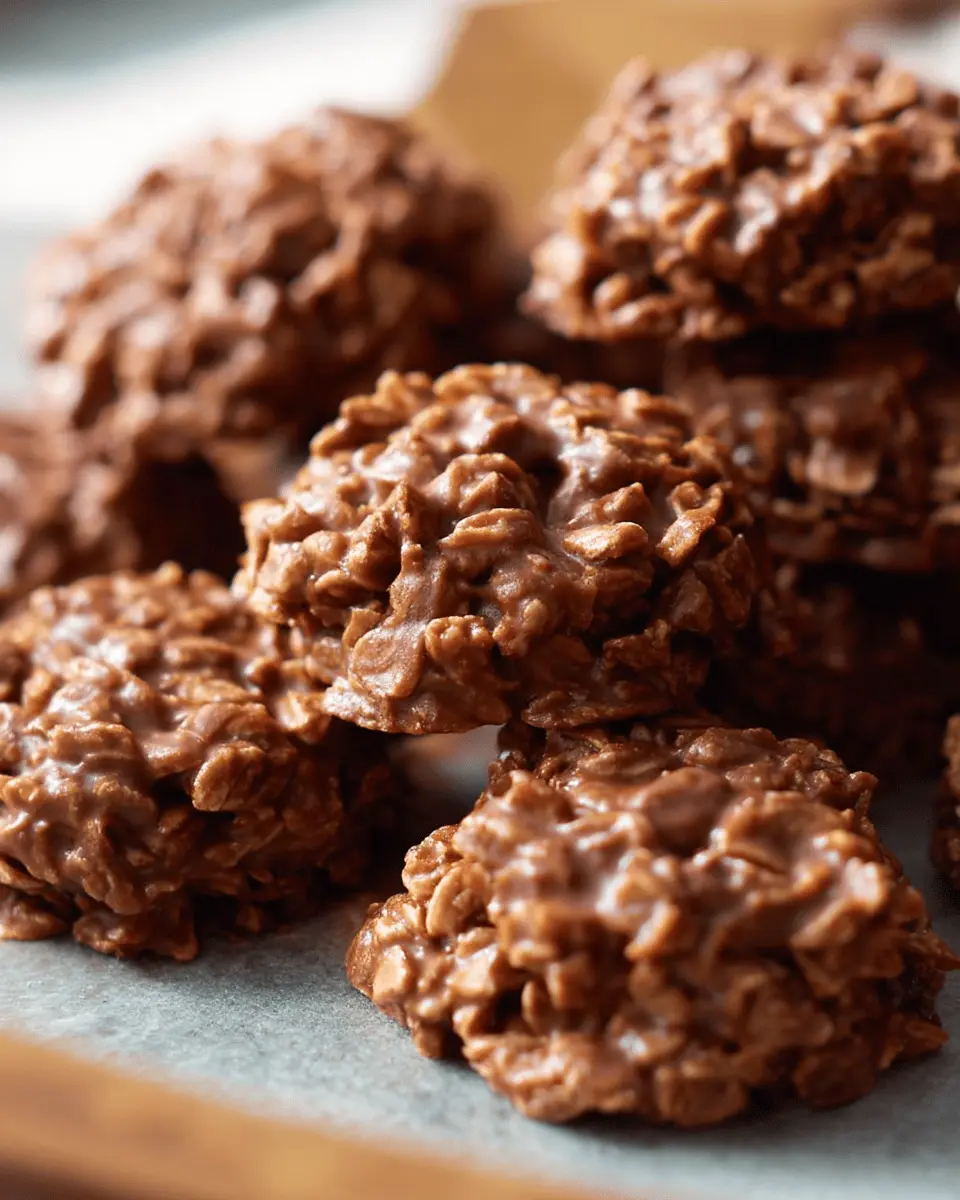
Enjoying Them Fresh
There’s something truly special about biting into a fresh classic no-bake cookie. Enjoy them right off the baking sheet for that chewy, fudgy goodness. You can also consider adding toppings like a sprinkle of sea salt or a drizzle of melted chocolate for an extra treat.
Pairing With Beverages
To enhance your experience, pair these delightful cookies with a warm cup of chai tea or a refreshing glass of cold brew coffee. Both beverages complement the chocolatey, peanut buttery flavors beautifully. If you're looking to keep it simple, a classic glass of milk is always a crowd-pleaser. For more tips on beverage pairings, check out resources like The Spruce Eats.
With these suggestions, you can create the perfect snacking experience with your classic no-bake cookies!
Time Breakdown for Classic No-Bake Cookies
When it comes to making classic no-bake cookies, knowing the time commitment can help you manage your kitchen time effectively. Here's a quick breakdown:
Preparation Time
You'll need about 20 minutes to gather and measure your ingredients. Make sure everything’s ready before you start cooking to streamline the process!
Cooking Time
The actual cooking is quick, taking around 5 minutes. This is when you’ll combine the butter, sugar, milk, and cocoa on the stovetop. Keep an eye on it for that perfect rolling boil!
Cooling Time
Once you've dropped the cookie mixture onto your baking sheets, it’s time to let them cool for about 20 minutes. This step is crucial for the cookies to set properly before indulging in their deliciousness.
With just 45 minutes total, you’ll have these tasty no-bake cookies ready to impress your family or guests! For a deeper dive into tips and variations, check out How to Master No-Bake Desserts for inspiration.
Nutritional Facts for Classic No-Bake Cookies
When indulging in these classic no-bake cookies, it’s good to know what you're treating yourself to. Here’s a brief overview of their nutritional content:
Calories per Cookie
Each cookie packs approximately 120 calories, making them a delightful yet relatively guilt-free treat.
Sugar Content
With around 10 grams of sugar per cookie, these are sweet bites, perfect for satisfying your sweet tooth without overdoing it.
Protein Content
You’ll enjoy about 3 grams of protein per cookie, largely from peanut butter, providing a bit of sustenance along with that sweetness!
For more insights on nutritional values, consider checking out the USDA FoodData Central for detailed information. Remember, balance is key, so enjoy your treats mindfully!
FAQs about Classic No-Bake Cookies
How long do no-bake cookies take to set?
Classic no-bake cookies usually require about 20 to 30 minutes to set at room temperature. The cooling process allows the mixture to firm up, making them easier to pick up and eat. If you’re in a hurry, placing them in the fridge for 10-15 minutes can speed things up!
Can I use different types of oats?
Absolutely! While quick-cooking oats are preferred for a softer texture, you can also use old-fashioned rolled oats. Just note that they may make your cookies chewier. If you want a similar consistency to quick oats, pulse the rolled oats in a food processor a few times to break them down.
What’s the best way to store no-bake cookies?
To keep your classic no-bake cookies fresh, store them in an airtight container at room temperature for up to a week. For longer storage, they can be frozen in a freezer-friendly container for up to three months. Simply thaw them at room temperature before serving, and they'll taste just as delicious! For more tips on cookie storage, check out this helpful resource.
Enjoy your cookie-making adventures!
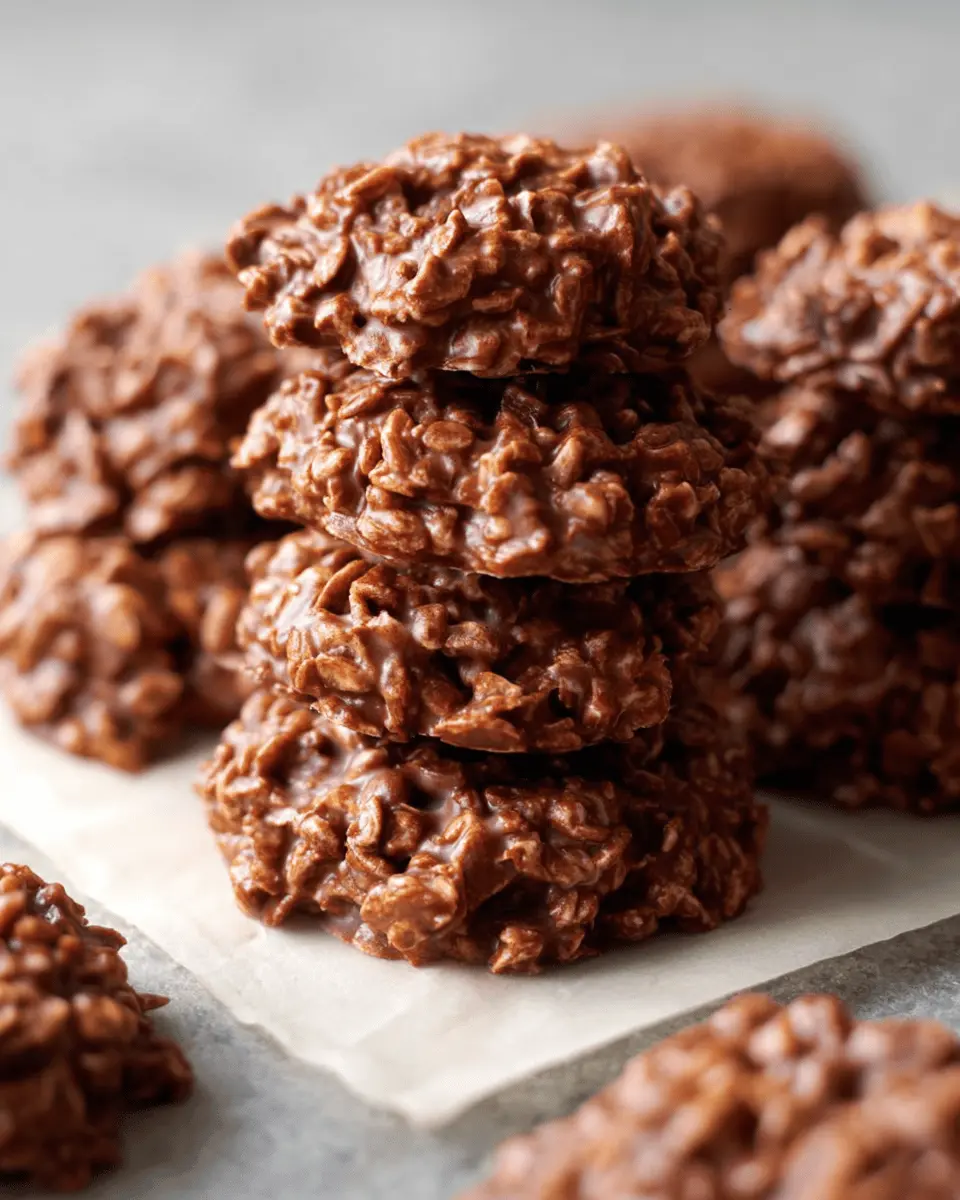
Conclusion on Classic No-Bake Cookies
Classic no-bake cookies are not just a nostalgic treat; they’re a quick, delightful solution for satisfying your sweet tooth. With simple ingredients and minimal prep time, these cookies are perfect for busy days or surprise guests. Enjoy them fresh or store them for later—either way, they’re always a hit!
For more dessert ideas, check out this collection of easy recipes or explore tips for hosting an unforgettable cookie party.

Classic No-Bake Cookies: Easy, Indulgent Treats for Everyone
Equipment
- large saucepan
- cookie scoop
- baking sheets
- parchment paper
Ingredients
- ½ cup butter sliced into pieces
- 2 cups granulated sugar
- ½ cup milk preferably whole milk
- ¼ cup unsweetened cocoa powder
- ½ cup creamy peanut butter
- 1 teaspoon pure vanilla extract
- 3 cups quick-cooking oats or old-fashioned rolled oats
Instructions
- Before getting started, gather all ingredients and measure them out. Line two large baking sheets with parchment paper and set aside.
- Combine the butter, sugar, milk, and cocoa powder in a large saucepan over medium heat. Stir often until melted. Bring to a rolling boil for 60 seconds, stirring occasionally.
- Remove from heat and stir in the peanut butter and vanilla extract until fully combined. Stir in the oats until well coated.
- Drop spoonfuls of the mixture onto prepared baking sheets and allow to cool for 20 to 30 minutes before serving.
Leave a Reply