
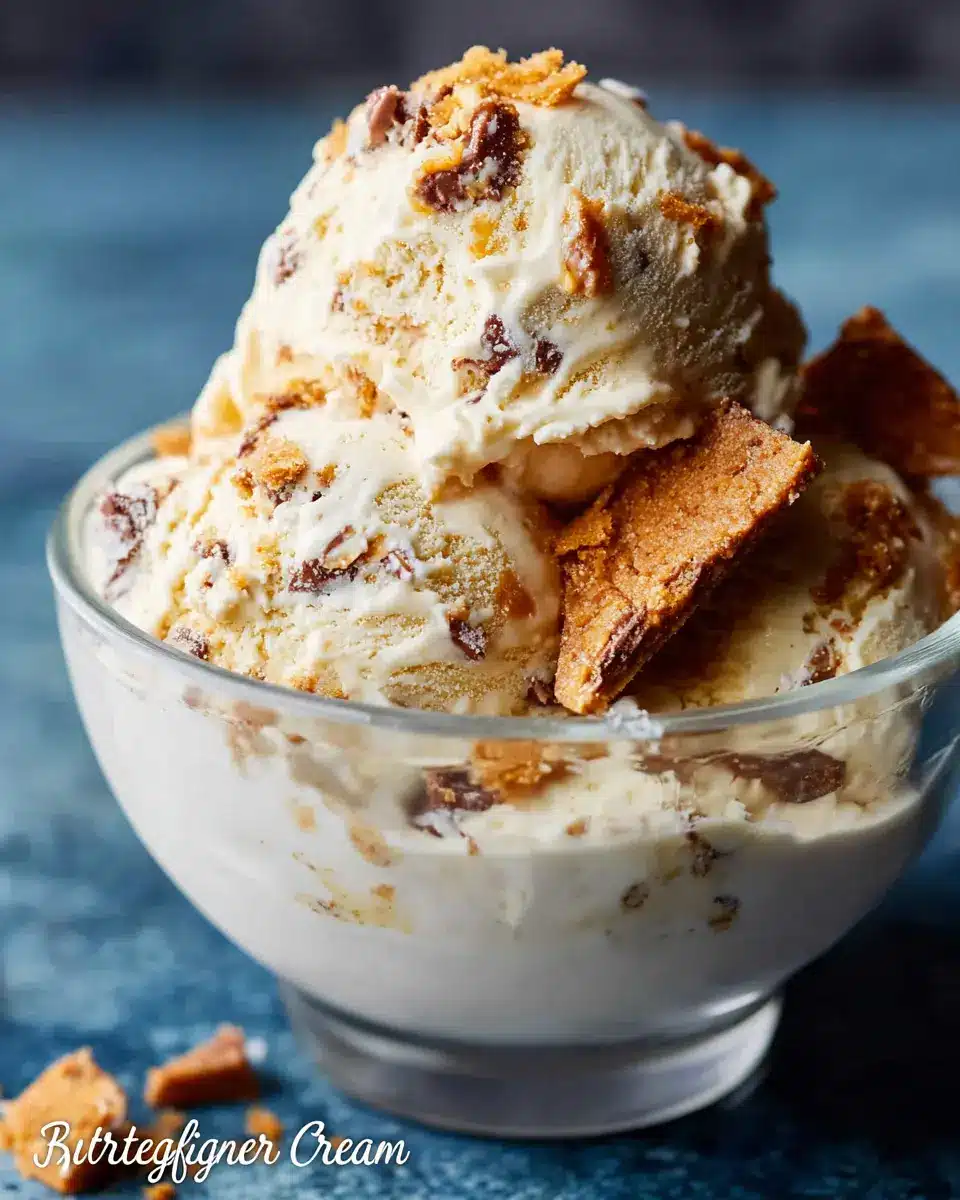
Introduction to Homemade Butterfinger Ice Cream
When it comes to summer delights, nothing quite compares to the joy of homemade ice cream. This Homemade Butterfinger Ice Cream Recipe is the perfect way to indulge in a melding of creamy goodness and crunchy, sweet chocolatey bites that will keep you cool under the sun. It's not just about beating the heat; it's about creating memories. Imagine those lazy afternoons filled with laughter, friends, and family, all gathered around to savor a heaping bowl of this delightful treat.
Why Homemade Ice Cream is the Ultimate Summer Treat
Homemade ice cream is not only customizable but also incredibly easy to make. You control the ingredients, adding only the freshest and best components, which is particularly important when it comes to finding the perfect balance of flavor and texture. Did you know that making ice cream at home can often save you money while delivering a more satisfying product? Store-bought varieties can rarely match the flavor depth and creaminess you'll achieve with a homemade recipe.
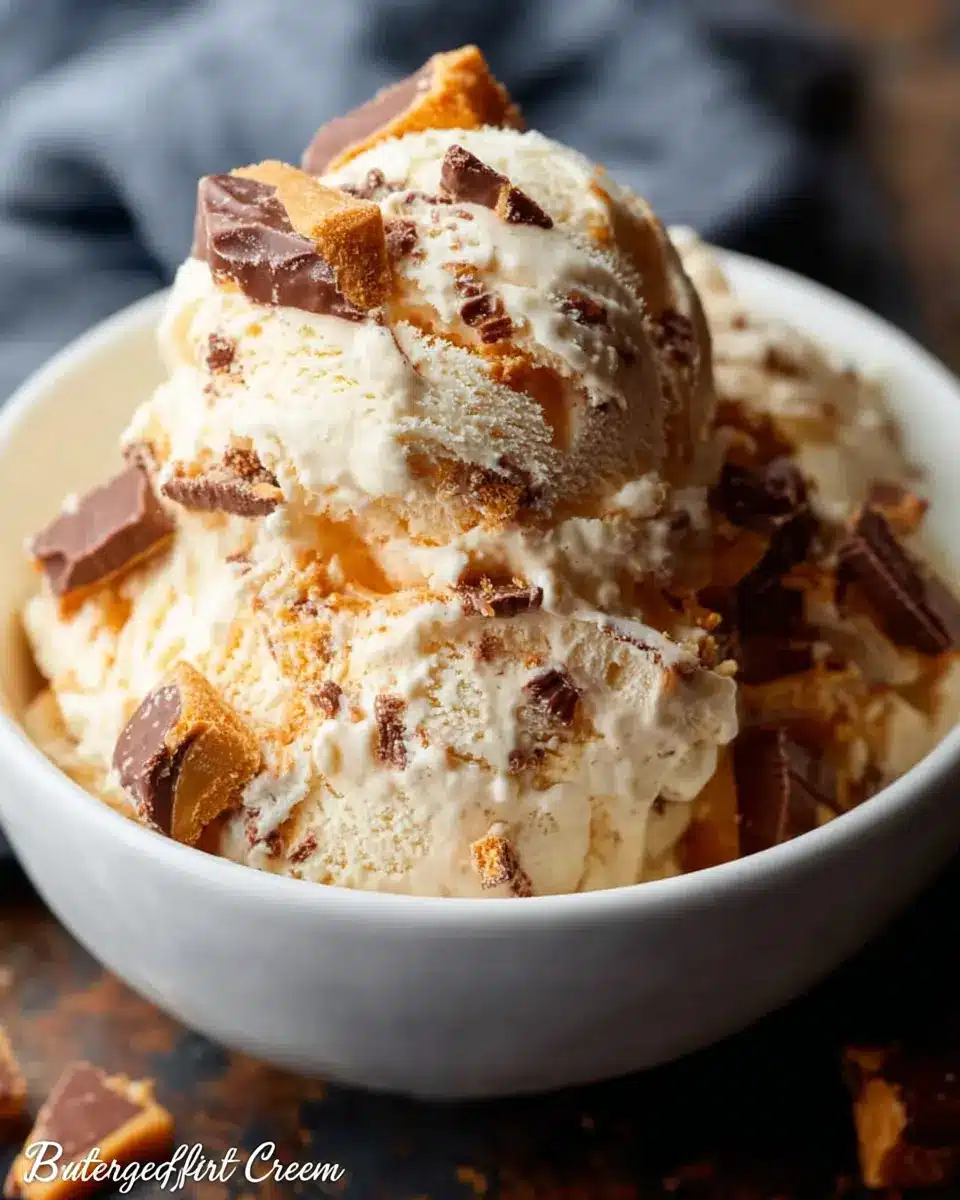
If you’ve ever craved the taste of Butterfinger bars, this isn't just an upgrade; it's a full-on experience! The crunchiness of the Butterfinger bars adds a delightful contrast to the smooth cream, making this ice cream a heavenly treat. So gather your ingredients and jump into the kitchen to create your own memorable ice cream moments!

Ingredients for Homemade Butterfinger Ice Cream
Essential ingredients for a delicious base
Creating your own Homemade Butterfinger Ice Cream starts with a rich and creamy base that will have everyone coming back for more. To achieve this, you'll need:
- 1 pint heavy cream: This adds that luscious texture we all crave.
- 1 12 oz can evaporated milk: It helps to enhance creaminess without making the mixture too heavy.
- 1 14 oz can sweetened condensed milk: This sweet component serves as the backbone of our ice cream.
- 4 cups whole milk: The base liquid, keeping things smooth and creamy.
- 1 3.4 oz box vanilla instant pudding: This mix thickens the ice cream while infusing it with vanilla goodness.
- ¾ cup sugar: A touch of sweetness balances the rich flavors.
- 4 tablespoons vanilla extract: For that delightful vanilla kick!
Special components: Butterfinger bars
The star of the show in this Homemade Butterfinger Ice Cream Recipe is, of course, the Butterfinger bars. You’ll need:
- 5 Butterfinger bars (1.9 ounces each), crushed: These bring a crunchy, peanut butter flavor that complements the creamy base perfectly.
Gathering these ingredients is the first step to indulging in an icy treat that will impress your friends and family. Trust me, once you try this recipe, you won’t want store-bought ice cream again!
Preparing Homemade Butterfinger Ice Cream
Making your own ice cream at home can feel incredibly rewarding—especially when it's a delicious Homemade Butterfinger Ice Cream Recipe! The process is simple, and you can customize it to fit your taste. Let’s walk through the steps together!
Gather and Measure Your Ingredients
First things first, you'll want to gather everything you need. Here's a quick checklist:
- 1 pint heavy cream
- 1 (12 oz) can evaporated milk
- 1 (14 oz) can sweetened condensed milk
- 4 cups whole milk
- 1 (3.4 oz) box vanilla instant pudding
- ¾ cup sugar
- 4 tablespoons vanilla extract
- 5 (1.9 ounce) Butterfinger bars, crushed
Having your ingredients pre-measured makes the entire process smoother, and you won’t spend precious time looking for missing items in your pantry.
Mix the Ice Cream Base
In a large bowl, combine the heavy cream, evaporated milk, sweetened condensed milk, and whole milk. Add in the vanilla pudding mix, sugar, and vanilla extract. Using a whisk, mix everything until it's smooth and well combined. The result should be a luscious and creamy liquid—perfect for your ice cream!
Chill the Mixture for Optimal Flavor
This step might feel like a waiting game, but it's crucial. Cover the bowl and refrigerate for 2 to 3 hours, or until the mixture is very cold. Chilling intensifies flavors and gives you that ultra-smooth texture. While you wait, it’s a great time to imagine how delightful your Homemade Butterfinger Ice Cream will taste!
Churn the Ice Cream in Your Maker
After your mixture is well-chilled, pour it into your ice cream maker. Follow the manufacturer's instructions for churning. Typically, this takes about 20 to 25 minutes, and you’ll want to keep an eye on it as it thickens to that perfect ice cream consistency. Trust us, the aroma will keep you excited!
Incorporate the Crushed Butterfinger Bars
Now comes the best part! During the last five minutes of churning, slowly add the crushed Butterfinger bars. This not only adds that delightful crunch but also infuses the creamy base with those unique flavors of peanut butter and chocolate. You may want to sneak a taste—just to make sure it’s on point, of course!
Freeze or Serve Immediately
Once your ice cream is churned, you have two options: serve it immediately or freeze it for later enjoyment. If you choose the latter, transfer your Homemade Butterfinger Ice Cream into an airtight container and let it freeze for at least 2 hours. This step firms up the ice cream, making for the perfect scoop later on.
You’re just a scoop away from indulging in a heavenly treat! Enjoying your homemade creation with friends and family is bound to create sweet memories. Happy ice cream making!
Variations on Homemade Butterfinger Ice Cream
Adding Different Candy Bars
Elevate your Homemade Butterfinger Ice Cream Recipe by experimenting with various candy bars! For a twist, try adding chopped Reese’s Peanut Butter Cups for a chocolate-peanut flavor, or toss in Milky Way pieces for a caramel delight. Feeling adventurous? Snickers or Twix can add layers of texture and flavor to your creamy base, resulting in a truly unique treat that caters to your sweet tooth!
Healthier Alternatives and Options
If you’re mindful of your health but still want to indulge, consider using Greek yogurt instead of heavy cream for a protein punch without sacrificing creaminess. You can also swap in sugar-free pudding mix and sweeteners like stevia or honey to cut down on calories. Opting for dark chocolate candy bars can provide antioxidants while curbing sugar intake. It’s all about balance—enjoying Homemade Butterfinger Ice Cream anywhere on that spectrum!
For more inspiration, check out EatingWell for healthier dessert ideas.
Cooking Tips and Notes for Homemade Butterfinger Ice Cream
Tips for Achieving Creaminess
To ensure your Homemade Butterfinger Ice Cream is rich and creamy, start with cold ingredients. Chilling the heavy cream and evaporated milk for a few hours before mixing helps achieve that smooth texture. Another trick? Stir in a couple of tablespoons of corn syrup; it not only boosts creaminess but also adds a little shine to your ice cream.
How to Avoid Icy Texture
Nobody wants icy ice cream. To minimize ice crystals, make sure to churn your mixture just until it thickens. Over-churning can lead to a grainy texture. If you notice your ice cream hardening too quickly in the freezer, leave it out for a few minutes before serving to allow it to soften beautifully.
Serving suggestions for Homemade Butterfinger Ice Cream
Creative ways to serve your ice cream
Elevate your Homemade Butterfinger Ice Cream Recipe by serving it in unique ways. Try scooping the ice cream into waffle cones for a classic treat or create an ice cream sundae bar with toppings like chocolate sauce, whipped cream, and extra crushed Butterfinger on top. For a fun twist, layer the ice cream in clear cups with fudge or caramel sauce for a decadent dessert parfait!
Pairing suggestions with other desserts
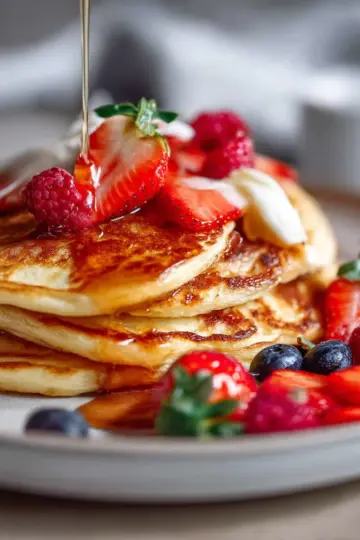
Take your dessert game to the next level by pairing your butterfinger ice cream with other delightful treats. Consider serving it alongside warm brownies or a slice of rich chocolate cake for that ultimate contrast of temperatures. You could even top off freshly baked cookies, like our chewy chocolate chip cookies, with a generous scoop of your Homemade Butterfinger Ice Cream. This combination not only looks stunning but tastes divine!
Time Breakdown for Homemade Butterfinger Ice Cream
Preparation Time
10 minutes is all you need to whip up this delightful ice cream base. Simply gather your ingredients and mix them together for a sweet, creamy concoction that is sure to please!
Chilling Time
Allow the mixture to chill for about 2-3 hours. This step is crucial for achieving that ultra-creamy texture, giving the flavors time to meld and develop a delicious depth.
Total Time
In total, you’ll be looking at approximately 4 hours and 10 minutes from start to finish. But trust us, the wait is worth it for this delectable homemade treat!
For a deeper dive into the Homemade Butterfinger Ice Cream Recipe, check out our full instruction guide here.
Nutritional Facts for Homemade Butterfinger Ice Cream
Calories per Serving
If you’re diving into this delicious Homemade Butterfinger Ice Cream Recipe, you can expect it to be quite indulgent! Each serving contains approximately 385 calories. It’s perfect for those special treats after dinner or for summer parties.
Sugar Content
While enjoying your frozen delight, keep in mind that the sugar content is around 30 grams per serving. This sweet profile comes from the lovely mix of sweetened condensed milk and sugar, complementing the iconic Butterfinger crunch. It’s a real crowd-pleaser, but a small indulgence can go a long way!
FAQs about Homemade Butterfinger Ice Cream
Can I make this without an ice cream maker?
Absolutely! If you don’t have an ice cream maker, you can still enjoy this Homemade Butterfinger Ice Cream Recipe. Simply mix the ingredients according to the instructions, then pour the mixture into a freezer-safe container. Stir it every 30-60 minutes for the first few hours to prevent ice crystals. This method may take a little longer but the end result will be just as creamy.
How long will it last in the freezer?
When stored properly in an airtight container, your delicious ice cream can last up to 2-3 weeks in the freezer. To maintain its texture and flavor, make sure to seal it tightly and limit exposure to air. For maximum freshness, it's best enjoyed within the first week!
What’s the best way to serve it?
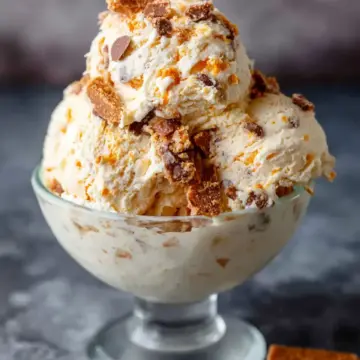
Serve your Homemade Butterfinger Ice Cream in a chilled bowl for an extra refreshing experience. You can also drizzle some chocolate syrup on top or sprinkle extra crushed Butterfinger pieces for added crunch. Don’t forget to pair it with your favorite toppings to elevate the flavor even more!
Conclusion on Homemade Butterfinger Ice Cream
Homemade Butterfinger Ice Cream is not just a dessert; it's an experience! With its creamy texture and chocolatey crunch, every scoop feels like a treat. Whether enjoyed on its own or paired with your favorite toppings, this recipe is sure to impress. Indulge yourself today and savor the sweet simplicity of this irresistible frozen delight.
Homemade Butterfinger Ice Cream Recipe
Equipment
- Ice Cream Scoop
- Cuisinart 1.5 Quart Ice Cream Maker
- Cuisinart 1-½-Quart Freezer Bowl
Ingredients
- 1 pint heavy cream
- 1 12 oz can evaporated milk
- 1 14 oz can sweetened condensed milk
- 4 cups whole milk
- 1 3.4 oz box vanilla instant pudding
- ¾ cup sugar
- 4 Tablespoons vanilla extract
- 5 1.9 ounce Butterfinger Bars crushed
Instructions
- In a large bowl, whisk together cream, evaporated milk, sweetened condensed milk, whole milk, pudding mix, sugar, and vanilla.
- Cover and chill for 2-3 hours, or until very cold.
- Pour chilled mixture into an ice cream maker, and churn according to manufacturer's instructions.
- During the last 5 minutes of churning, add the crushed Butterfinger pieces.
- Serve immediately, or pour into an airtight container and freeze for two hours or more.

Leave a Reply