
Introduction to Homemade Cream Puffs
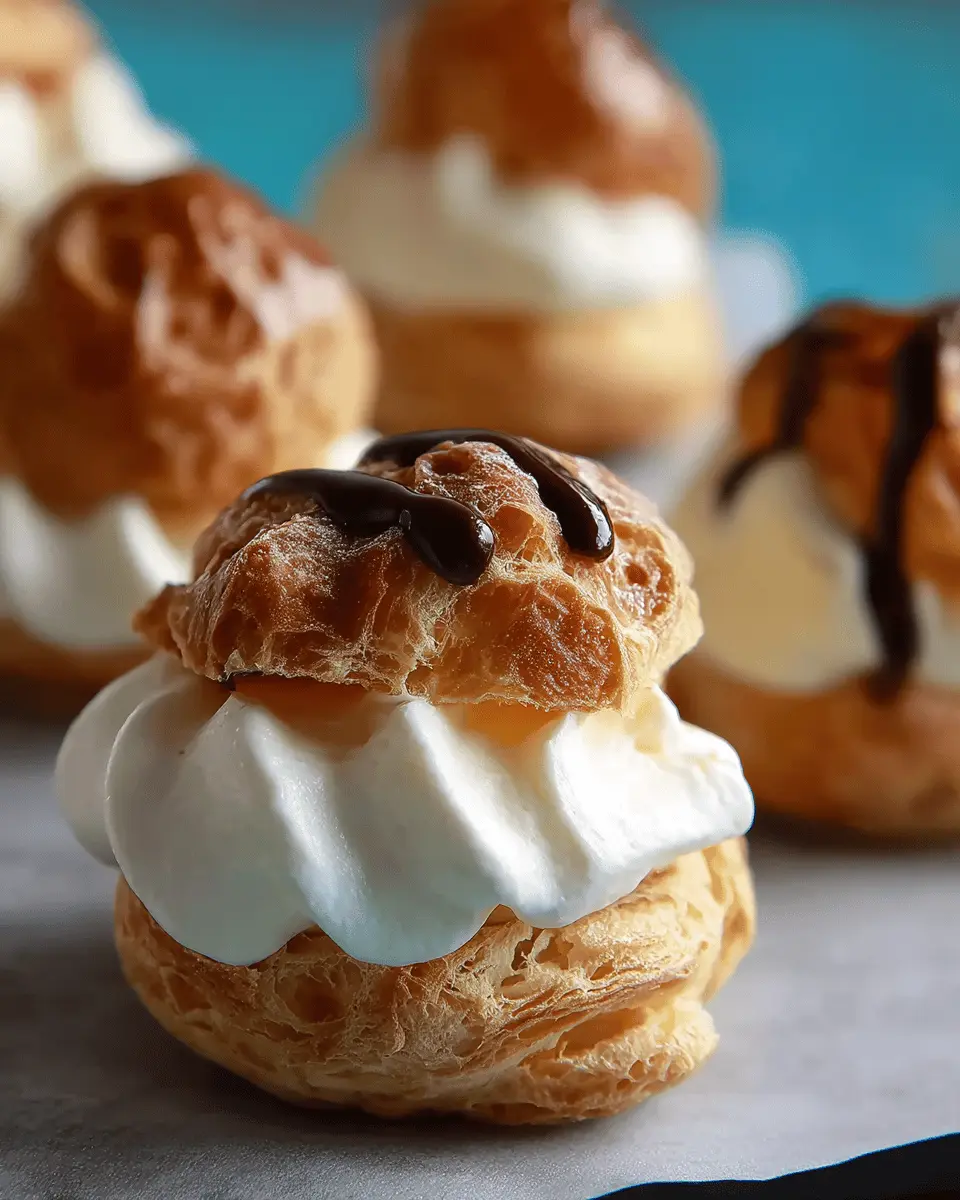
Making homemade cream puffs is a delightful culinary adventure that anyone can embark on! This French treat is not just a dessert; it's a simple yet sophisticated indulgence perfect for impressing friends at gatherings or satisfying a sweet tooth after a long day. Whether you're a novice baker or someone more experienced, you'll find joy in crafting these airy, crispy pastries that come alive with luscious whipped cream.
Why should you try your hand at this classic dessert? For starters, the process of making cream puffs teaches you valuable skills in creating choux pastry, a foundational element in pastry cooking. In fact, mastering this technique opens the door to a variety of sweets like éclairs and delicate profiteroles. Plus, there’s something incredibly satisfying about homemade treats—they beat store-bought versions any day!
Not only are cream puffs a feast for the palate, but they also offer endless customization options. You can experiment with different fillings, flavors, and toppings, allowing you to make them uniquely yours. Check out resources like Serious Eats for variations and tips to elevate your cream puff game. Dive into the world of cream puffs; it’s a delicious journey waiting to unfold!
Ingredients for Homemade Cream Puffs
Creating homemade cream puffs is a delightful experience that combines simple ingredients for extraordinary results. Here's what you'll need to whip up these classic treats at home.
Essential ingredients for the pâte à choux
For the crisp outer shell, ensure you have:
- 1 ¼ cup (300 ml) water
- 1 teaspoon (4 g) granulated sugar
- ½ teaspoon (2 g) kosher salt
- ½ cup (114 g) unsalted butter, cut into slices
- 1 cup (124 g) all-purpose flour
- 4 large eggs
- ¼ cup (12 g) powdered sugar for that charming dusting
Ingredients for the whipped cream filling
For an indulgent filling, gather:
- 2 cups (480 ml) heavy whipping cream
- ½ cup (24 g) powdered sugar or granulated sugar
- 1 teaspoon (5 ml) pure vanilla extract
Equipment you'll need
Having the right tools makes all the difference! You’ll want to have:
- Stand mixer to whip that cream to perfection
- Cooling rack to let your puffs cool evenly
- Pastry bag with a plain and star pastry tip for filling
Once you have these essentials ready, you’re just moments away from enjoying your delicious homemade cream puffs! For more tips, check out this guide on making choux pastry for expert advice.
Preparing Homemade Cream Puffs
Homemade cream puffs are an elegant treat, perfect for impressing friends or enjoying a sweet indulgence after a long day. Follow these detailed steps to craft airy, crispy shells filled with luscious whipped cream that can rival any patisserie.
Preheat the Oven
Start your cream puff adventure by preheating your oven to 425°F (218ºC). Make sure to position your oven racks in the upper-middle and lower-middle placements. This ensures even baking. While the oven heats up, take a moment to line two baking sheets with parchment paper—this will prevent any sticking during the baking process.
Make the Pâte à Choux Dough
Creating the foundation of your delicious cream puffs, the pâte à choux, is essential. In a heavy-bottomed saucepan, combine 1 cup of water, sugar, salt, and butter. Bring this mixture to a boil, allowing the butter to melt completely. Once that’s done, turn off the heat and quickly stir in your flour. You’ll want to mix vigorously until it forms a cohesive dough that begins to pull away from the pan. Trust me, it’s worth the effort for that perfect texture!
Cool the Dough and Add Eggs
Once your dough comes together, transfer it to a stand mixer fitted with a paddle attachment. Set it to low speed to bring down the temperature to around 130°F (54ºC) before adding eggs. This prevents your eggs from scrambling. Add them one at a time, mixing well after each addition. The result should be a shiny, thick dough that holds its shape—ideal for piping into those classic cream puff forms.
Pipe the Dough Onto Baking Sheets
Now for the fun part: piping! Place a large plain tip into your piping bag. If you wish, lightly grease the inside to ease the process. Pipe 2-inch balls of dough spaced about 2 inches apart on your parchment-lined sheets. Remember, they’ll puff up during baking, so give them room to grow. For smoothing any peaks left from piping, you can moisten your finger and gently press down.
Bake the Cream Puffs to Perfection
Slide the trays into your preheated oven, but resist the urge to peek! Bake at various temperatures—starting at 425°F then lowering it gradually. This helps achieve that golden, crispy outer layer while ensuring a hollow center. Total baking time should range from 60 to 70 minutes. When done, your cream puff shells should be light and dry when tapped.
Make the Whipped Cream Filling
While your shells cool, whip up a cloud-like filling. In your stand mixer with a whisk attachment, combine heavy whipping cream, powdered sugar, and vanilla extract. Start at medium-low speed until frothy, then crank it up to medium-high for about 2 minutes until stiff peaks form. Just be cautious; overmixing can curdle your cream!
Pipe the Cream Into the Cooled Shells
Cut your cooled cream puff shells in half. Use a pastry bag fitted with a star tip to pipe generous servings of whipped cream into the bottoms. Gently place the tops back on, and voilà—your homemade cream puffs are taking shape!
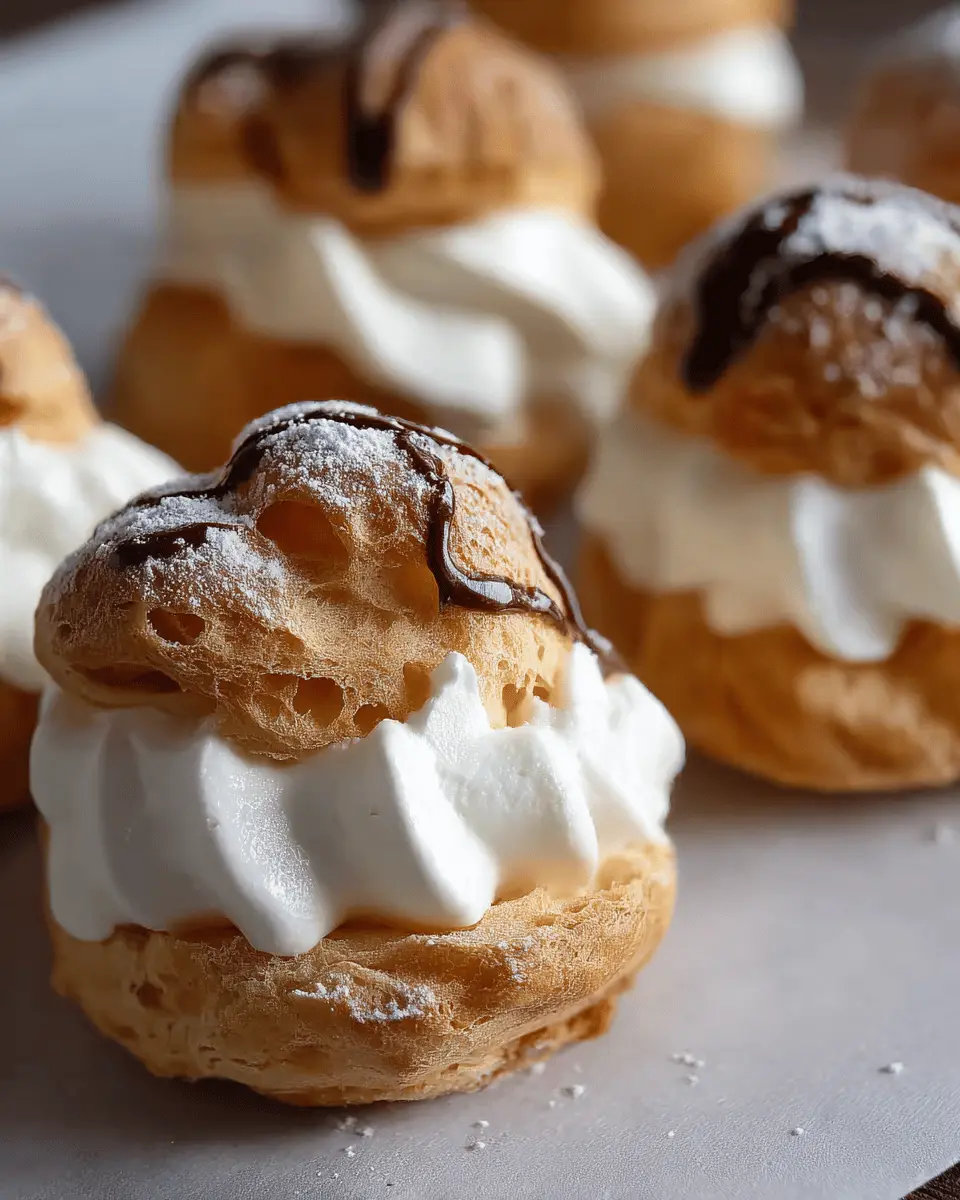
Dust with Powdered Sugar and Serve
Finish with a light dusting of powdered sugar for that professional touch. Whether you enjoy them immediately or chill them in the fridge for later, these cream puffs are sure to delight. Trust me, the balance of crispy and creamy will have everyone coming back for seconds!
Variations on Homemade Cream Puffs
Homemade cream puffs are delightful on their own, but let’s get a little creative! Here are two variations that will surely impress your guests and tantalize your taste buds.
Chocolate Cream Puffs
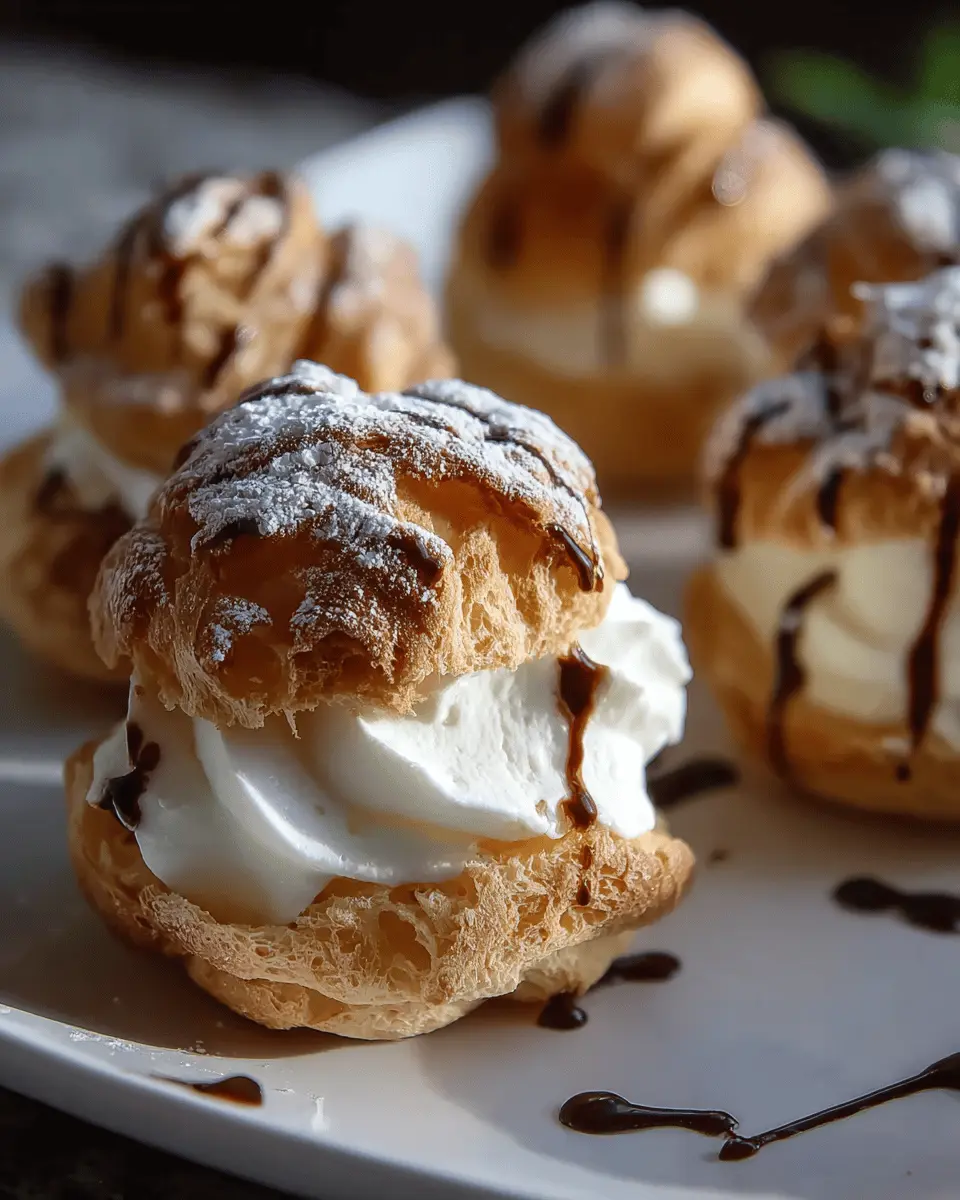
Craving something decadent? Fill your cream puffs with a rich chocolate mousse or ganache. Simply melt high-quality chocolate and fold it into the whipped cream for a luscious filling. For extra flair, drizzle some melted chocolate over the top before serving. This chocolatey twist adds a luxurious touch that chocolate lovers will adore!
Fruit-Filled Cream Puffs
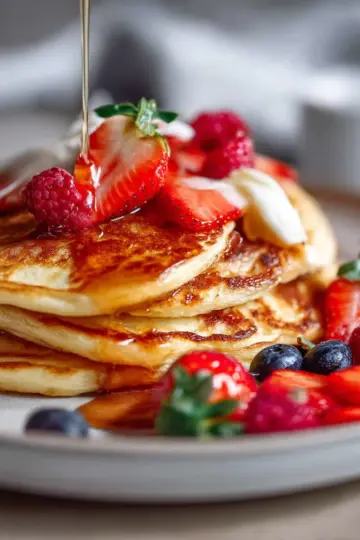
For a lighter option, try filling your homemade cream puffs with fresh fruit and cream. Seasonal berries, like strawberries or raspberries, can be mixed into the whipped cream or placed whole inside the puff. A splash of lemon juice can elevate the flavor, giving a refreshing zing. This fruity variation makes a perfect dessert for warm-weather gatherings!
Explore more ideas at Tasty and Epicurious for additional inspiration!
Tips and Notes for Homemade Cream Puffs
Troubleshooting Common Issues
If your homemade cream puffs don't puff up, check your oven temperature—an oven thermometer can be a handy tool. If they crack, your dough might have been too wet or not baked long enough. Lastly, ensure you mix the dough thoroughly. A good guideline is to follow the mixing instructions carefully to achieve that airy texture.
Storing Tips for Unfilled and Filled Cream Puffs
For unfilled cream puff shells, store them in an airtight container at room temperature for up to five days, or freeze them for a month. To revive their crispiness, reheat at 300°F for about 10 minutes. If you have leftover filled cream puffs, place them in the fridge, uncovered, and enjoy them within three days for the best flavor.
For more on perfecting pastry techniques, check out France’s pastry tradition. Happy baking!
Serving Suggestions for Homemade Cream Puffs
Creative Ways to Serve and Present Cream Puffs
When it comes to homemade cream puffs, presentation is key to delighting your guests! Here are some creative serving suggestions:
-
Platter Display: Arrange the cream puffs on a beautiful platter, dusted with powdered sugar, to create an eye-catching centerpiece for your dessert table.
-
Flavor Variations: Experiment with different fillings! Try adding flavored whipped creams like matcha or coffee for a twist. You can even use fruit compotes to add a refreshing tang.
-
Garnish: Top each puff with fresh berries or a drizzle of chocolate sauce for a pop of color and flavor.
-
Mini Versions: Make smaller cream puffs for an elegant bite-sized treat at gatherings. They're perfect for brunch!
These tips help elevate your homemade cream puffs from delicious to absolutely memorable. Want more dessert inspiration? Check out resources like Bon Appétit for fantastic ideas!
Time Breakdown for Homemade Cream Puffs
Preparation Time
Gathering your ingredients and getting everything ready will take about 30 minutes. During this time, you’ll measure the ingredients, prep the piping bag, and whip up the delicious cream filling.
Cooking Time
The baking process requires 1 hour and 15 minutes. Your cream puffs will initially rise quickly in the oven, so don't be surprised by the transformation—it's part of the magic!
Total Time
All in all, you should allot 1 hour and 45 minutes for creating these delectable homemade cream puffs. Trust me, the effort pays off when you taste the crispy shells filled with creamy goodness!
Looking for tips on perfecting your homemade cream puffs? Check out Jessica Gavin's expert advice on baking for more insights!
Nutritional Facts for Homemade Cream Puffs
Calories per cream puff
Each homemade cream puff contains approximately 116 calories. This classic French treat encapsulates the delightful fusion of crispy pastry and rich cream, making them a delightful indulgence without being overly heavy.
Other nutritional information
Beyond calories, these cream puffs offer a balanced nutritional profile:
- Carbohydrates: 10g
- Protein: 3g
- Fat: 7g (with 4g saturated fat)
- Cholesterol: 66mg
- Sodium: 94mg
- Sugar: 4g
With fiber content at 1g, they provide a bit of sustenance in a delicious dessert package. For more detailed nutritional insights, consider visiting Healthline or referring to the USDA's National Nutrient Database. Enjoying these cream puffs in moderation allows you to savor a taste of indulgence while being mindful of nutrition!
FAQs about Homemade Cream Puffs
Can I make cream puffs ahead of time?
Yes, you can! To enjoy freshly baked homemade cream puffs at your convenience, prepare the pastry shells a day in advance. Store them in an airtight container at room temperature for up to five days. If you wish to keep them longer, freeze the unfilled shells for up to a month. Just pop them in a preheated oven at 300°F (149°C) for a few minutes to restore their crispness before filling.
How do I ensure my cream puffs don't collapse?
To prevent your homemade cream puffs from collapsing, ensure you bake them thoroughly. A gradual baking process is crucial; start at a high temperature and gradually decrease to help them gain structure. Avoid opening the oven door while baking, as this can cause fluctuations in temperature. Additionally, let them cool completely before filling.
What are some popular fillings for cream puffs?
The filling options for cream puffs are endless! Classic choices include:
- Whipped cream (our favorite!)
- Pastry cream (vanilla or chocolate)
- Fruit-flavored whipped cream (like strawberry or mango)
- Ice cream for a delightful twist
Feel free to get creative and experiment with your favorite flavors! For more inspiration, check out this filling idea guide from The Spruce Eats.
Conclusion on Homemade Cream Puffs
Homemade cream puffs are a delightful dessert that brings a touch of French elegance to your table. The crispy outer shell, combined with light and airy whipped cream, creates a satisfying treat for any occasion. Give this recipe a try—you won't be disappointed with the results or the smiles they bring!

Homemade Cream Puffs: Indulgent Treats for Every Occasion
Equipment
- Stand Mixer
- Cooling Rack
- Pastry Bag
- Plain Pastry Tip
- Star Pastry Tip
Ingredients
Pâte à Choux
- 1 ¼ cup water, divided
- 1 teaspoon granulated sugar
- ½ teaspoon kosher salt
- ½ cup unsalted butter, cut into 8 slices
- 1 cup all-purpose flour, spoon and leveled
- 4 large eggs
- ¼ cup powdered sugar, for dusting
Egg Wash
- 1 large egg
- 1 tablespoon water or milk
Whipped Cream (4 cups)
- 2 cups heavy whipping cream
- ½ cup powdered sugar or granulated sugar
- 1 teaspoon pure vanilla extract
Instructions
Preparation
- Preheat the Oven - Set the oven racks to upper-middle and lower-middle positions. Preheat to 425°F (218ºC). Line two sheet pans with parchment paper and set them aside.
- Make the Dough - In a large heavy-bottomed saucepan, add 1 cup of water, sugar, salt, and butter. Bring to a boil over medium-high heat and stir until the butter fully melts, about 2 minutes.
- Cool the Dough - Transfer the dough to a bowl of a stand mixer fitted with a paddle. Slowly stir on low speed to cool to 130°F (54ºC) or just below, about 2 to 3 minutes.
- Add the Eggs in Stages - Add eggs one at a time, mixing on medium-low speed until each egg is fully incorporated, about 30 to 45 seconds per egg.
- Piping the Dough - Pipe onto the sheet pan, creating a 2-inch circular ball, at least 2 inches apart.
- Brush on Egg Wash - In a small bowl, whisk together one egg and 1 tablespoon of water. Brush the tops and sides of each dough ball with the egg wash.
- Gradual Baking Process - Bake for 10 minutes at each temperature setting: 425°F, 375°F, 325°F, 275°F, 225°F, 200°F. Do not open the oven door!
- Make the Whipped Cream - In a stand mixer fitted with the whisk attachment, add heavy cream, powdered sugar, and vanilla extract. Whip until stiff peaks form.
- Piping the Cream - Cut the shells in half and evenly pipe the whipped cream into the pastry bottoms.
- Top with Sugar - Sprinkle powdered sugar on top of each cream puff. Serve immediately or refrigerate if not eating within one hour.

Leave a Reply